Web Builder: Adding Items to the Catalog Template
First, make sure you named your images without using any punctuation. Use _ (underscore) for spaces, just to be on the safe side.
When you resize your images, make sure to keep backups of the original scans. Make sure the file sizes are small and the graphic itself isn't too large (maybe 300-600 pixels tops, depending on which template you're using)...
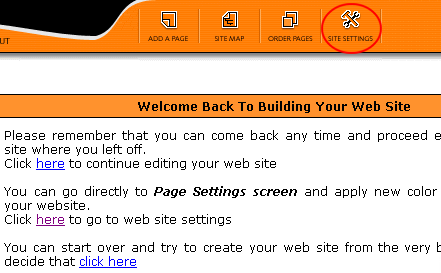
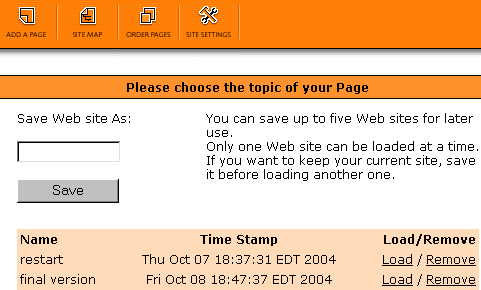
Log in to your site (click here if you don't know how). Click Site Settings, then click Load/Save a website.
Click Load next to the most recent saved version (in this case "final version").
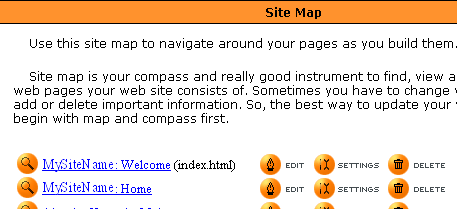
Click Site Map at the top of the page.
Find the page you want to change - click Edit.
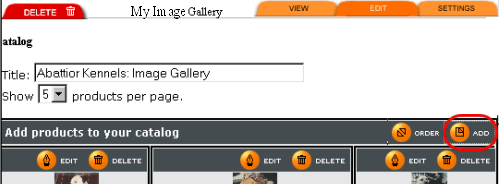
This is what the Catalog template looks like. Click Add.
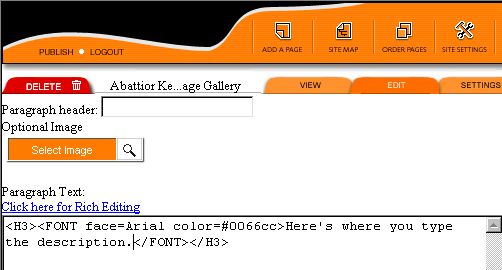
Next, click "Select Image" (just above where you entered your description).
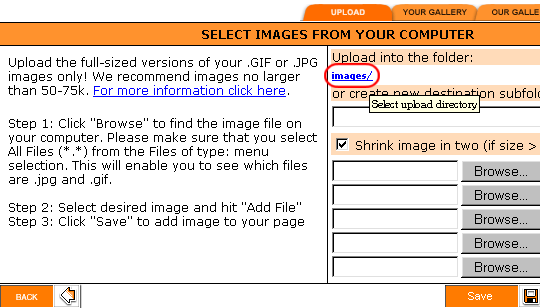
To try to keep your site from having too many images in one folder, change the folder that you upload them into: Click "images/"
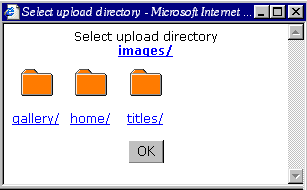
Select "gallery/" (example) from the popup window. If you don't already have a folder, you can create one by typing a new folder name in the box that says "or create a new destination subfolder" (see above picture).
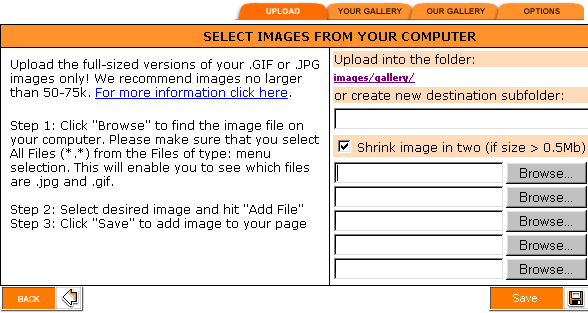
It should now look like this:
Your images will be in different folders in "Your Gallery". See below. Note: Screenshots are from two different sites, so the folders are different in the pictures!
Click the folder (if you put it in a subdirectory), then click the image to select it for your image gallery.
|
![]()
home | web design & web consulting | excel solutions | tutorials | links | about me | contact me
portfolio | faq | payment terms
guistuff
Copyright © 2005 - 2007 Wendy LeBel. All rights reserved.
![]()
